Thursday 29 April 2021

Arthur Harman rules - OK?

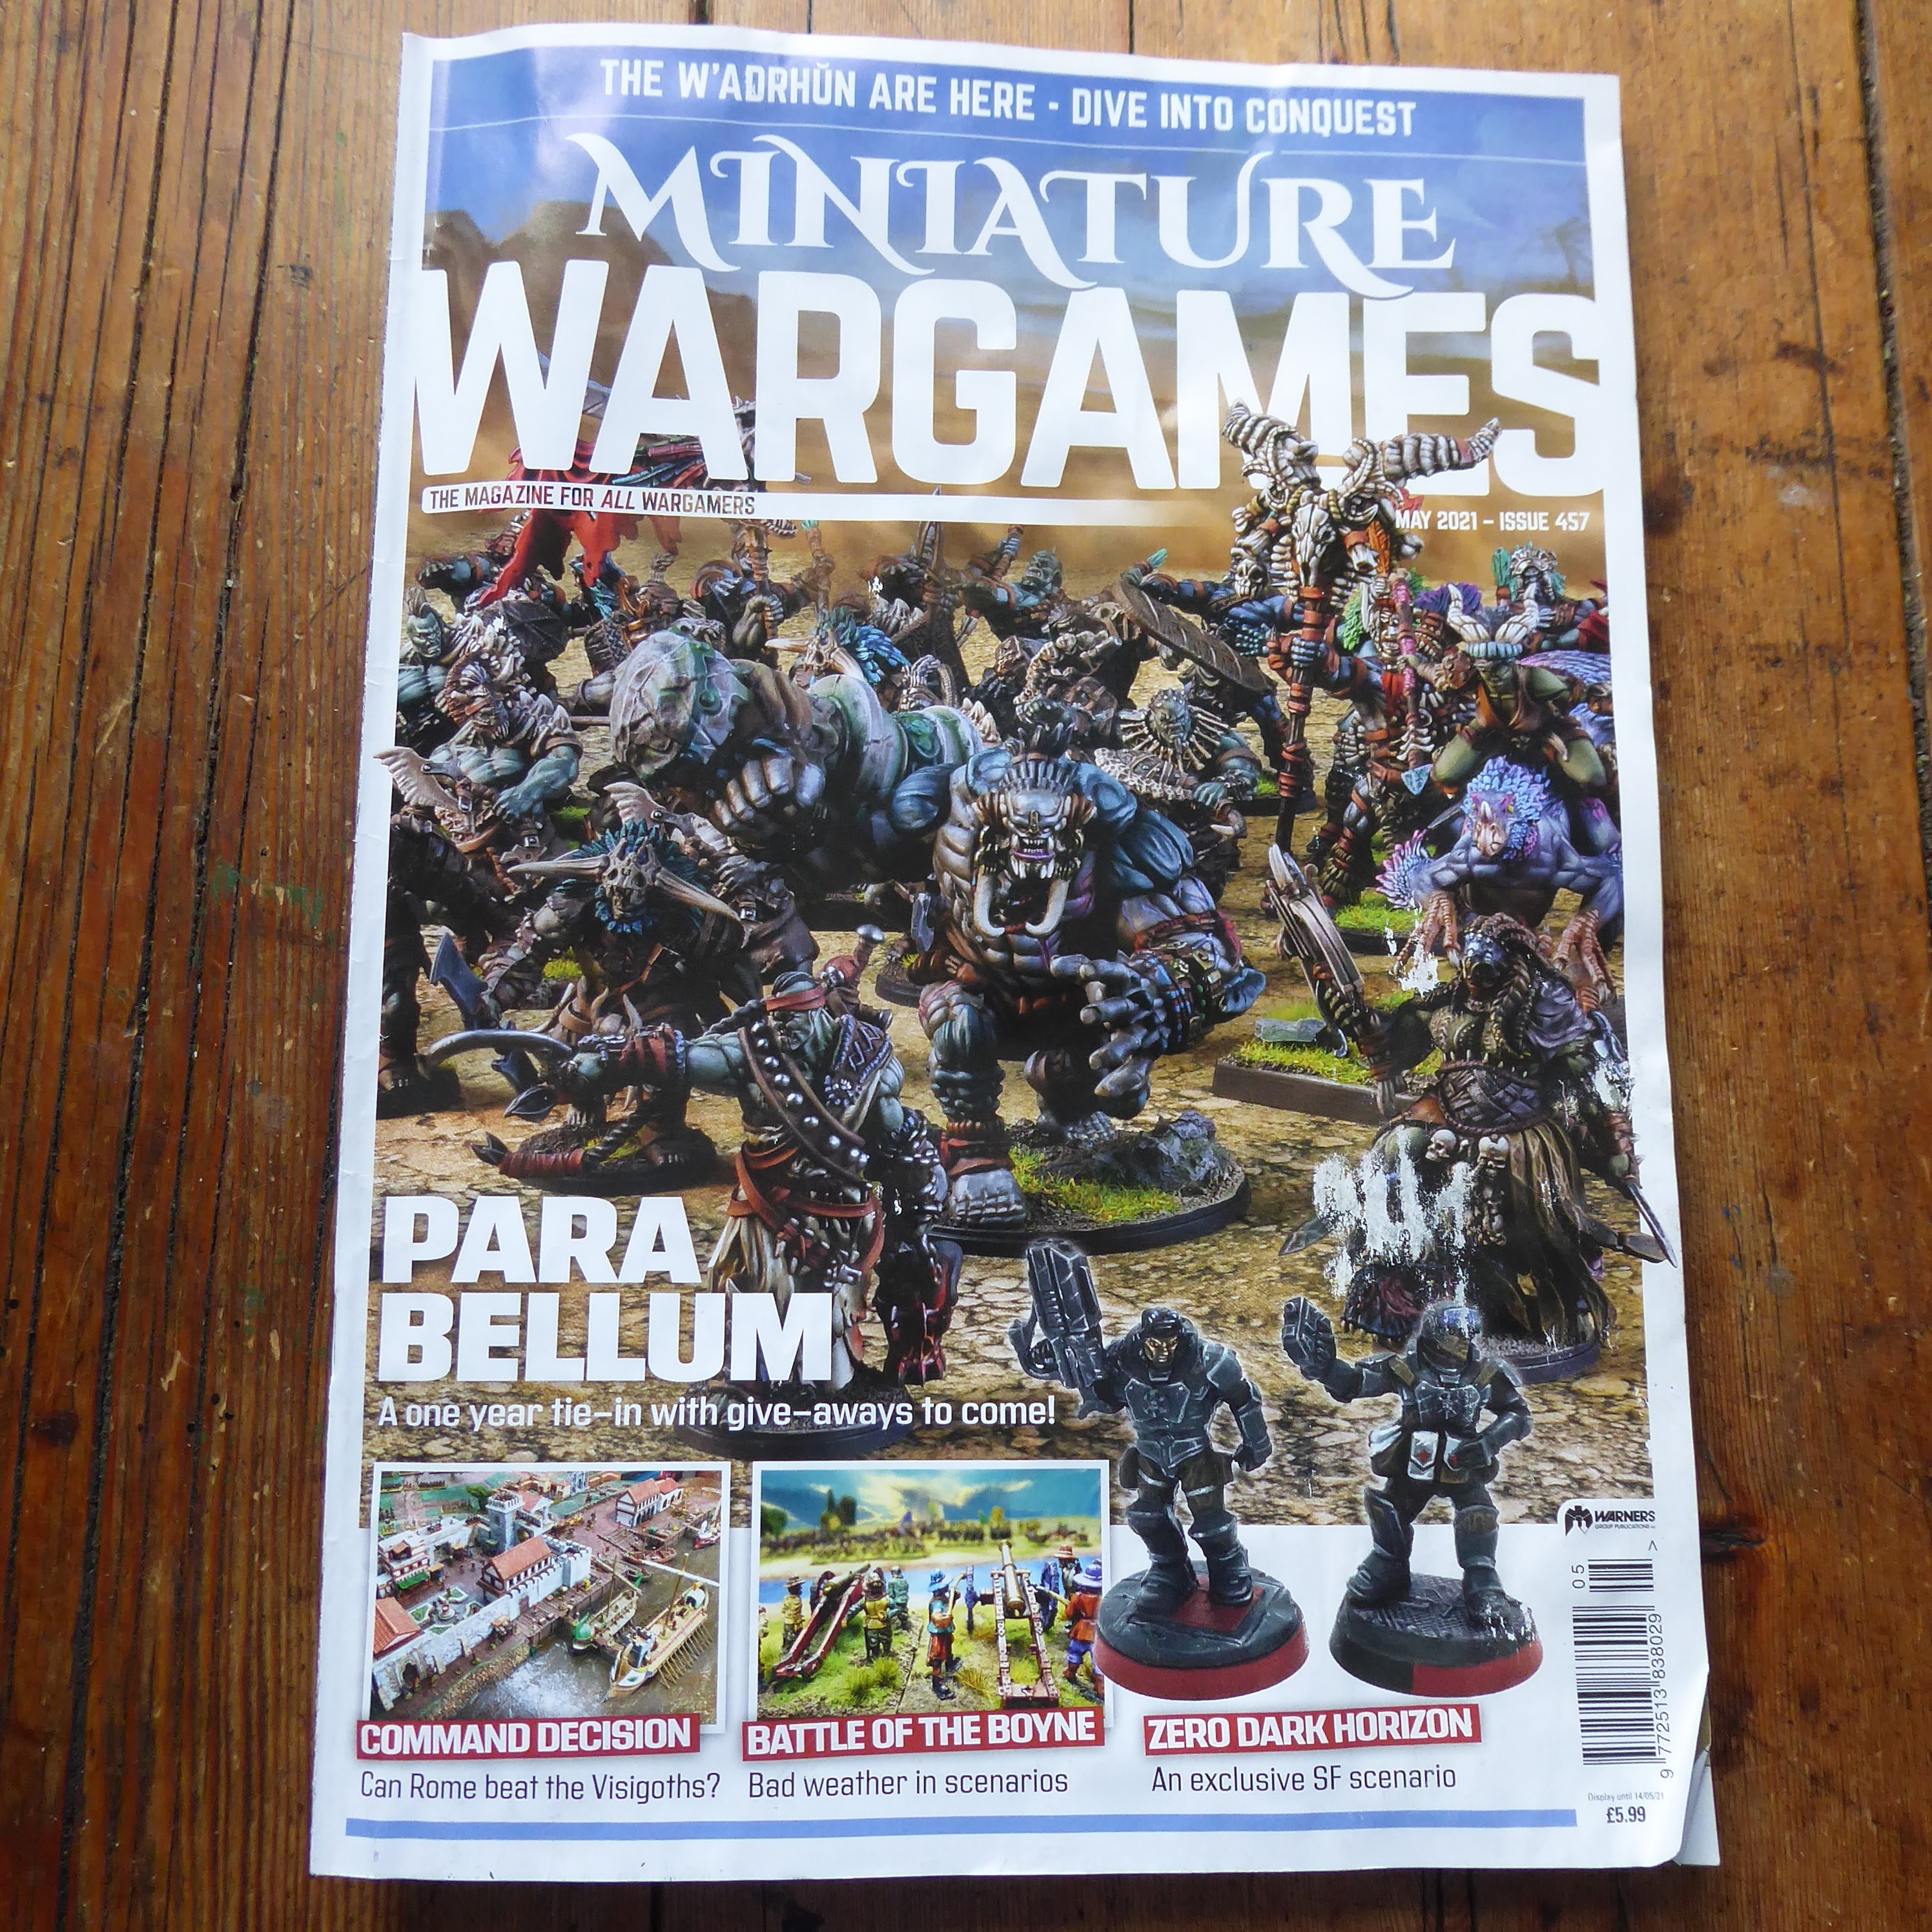
I recently picked up a copy of the current issue ( no. 457 ) of 'Miniature Wargames' magazine, and was pleased to see an article by that most  'old reliable' of authors, Arthur Harman. 

don't judge a mag by..
 

Entitled 'Fighting Toy Soldier Battles: For Shame - Simple Horse and Musket Engagements',    I'm not sure where the 'For Shame' bit has come from - an editor's gag ?   [ no, it was just too clever for me - see comments below, where  Martin S has enlightened me! ]  It describes "a simple toy soldier battlegame, that you may be able to persuade your families to play to relieve the tedium of being 'confined to barracks' during the Coronavirus crisis, while you are unable to visit your club or regular opponents".  It is  presented as a very simple child-friendly game, but  having read through it, I think there is slightly more than that going on 'under the bonnet'  ( or shako? ) , so to speak.

The game uses a square gridded battlefield ,  'the sides of the squares should be equal to the frontage of a battalion/ musketry range'  - a nice feature,  as you can fit your grid to whatever size of unit you fancy,  or fit your units to your grid (  I think my units will fit a four-inch grid quite nicely ).  The units have two important attributes :  Troop Quality  (basically Elite, Regular or Raw ) and Combat Value,  which is a sort of  combination of strength, quality and morale. When the CV is reduced to zero, the unit has to start to retire from the battle - another neat touch, perhaps, as they will not simply be swept off the table, but slowly retreat from the action (and may subsequently be forced into ignominious rout ) .  

don't try to read this - buy the mag !


In combat,  units roll a number of 'tactical dice'  based on their Troop Quality ( with possible modifiers adding or subtracting dice ). The dice are ordinary D6s ,  but they are treated rather like 'Commands and Colours' dice, with each number signifying a particular type of 'hit' such as officer casualty, artillery  or close combat.  Most interesting of these is the 'Falling Flag' hit   -  the number of those rolled  is compared to the 'Troop Quality' score of the target unit, with variable effects on morale. The dice also contribute to the effect of charges - the attacker rolls first, and the number of  'Sabres' and 'Flags' rolled has an effect on the steadiness of the defender, another clever idea. I also like the mechanism for cavalry vs. cavalry charges - if neither side breaks,  two units charging each other may pass through, turn around and  'have at it' again, which seems to capture quite an authentic detail in a nice simple way.


There's a simple Move/Fire/Close Combat turn sequence, 'first player' decided by dice, and there are rules for  Generals and ADCs, foot and horse artillery, and skirmishers. With an eye on involving children in the lockdown household, it's suggested that the general's portraits be drawn,  (an optional bonus combat dice for the best portrait..), and marked with any wounds incurred!  The whole thing occupies just  six pages of the magazine - really only four pages of text - but there are lots of interesting ideas in there. I hope I can  give them a try sometime soon -  subject perhaps to some small tweaks for the Seven Years War - and I think they may well be both fun and maybe rather intriguing.

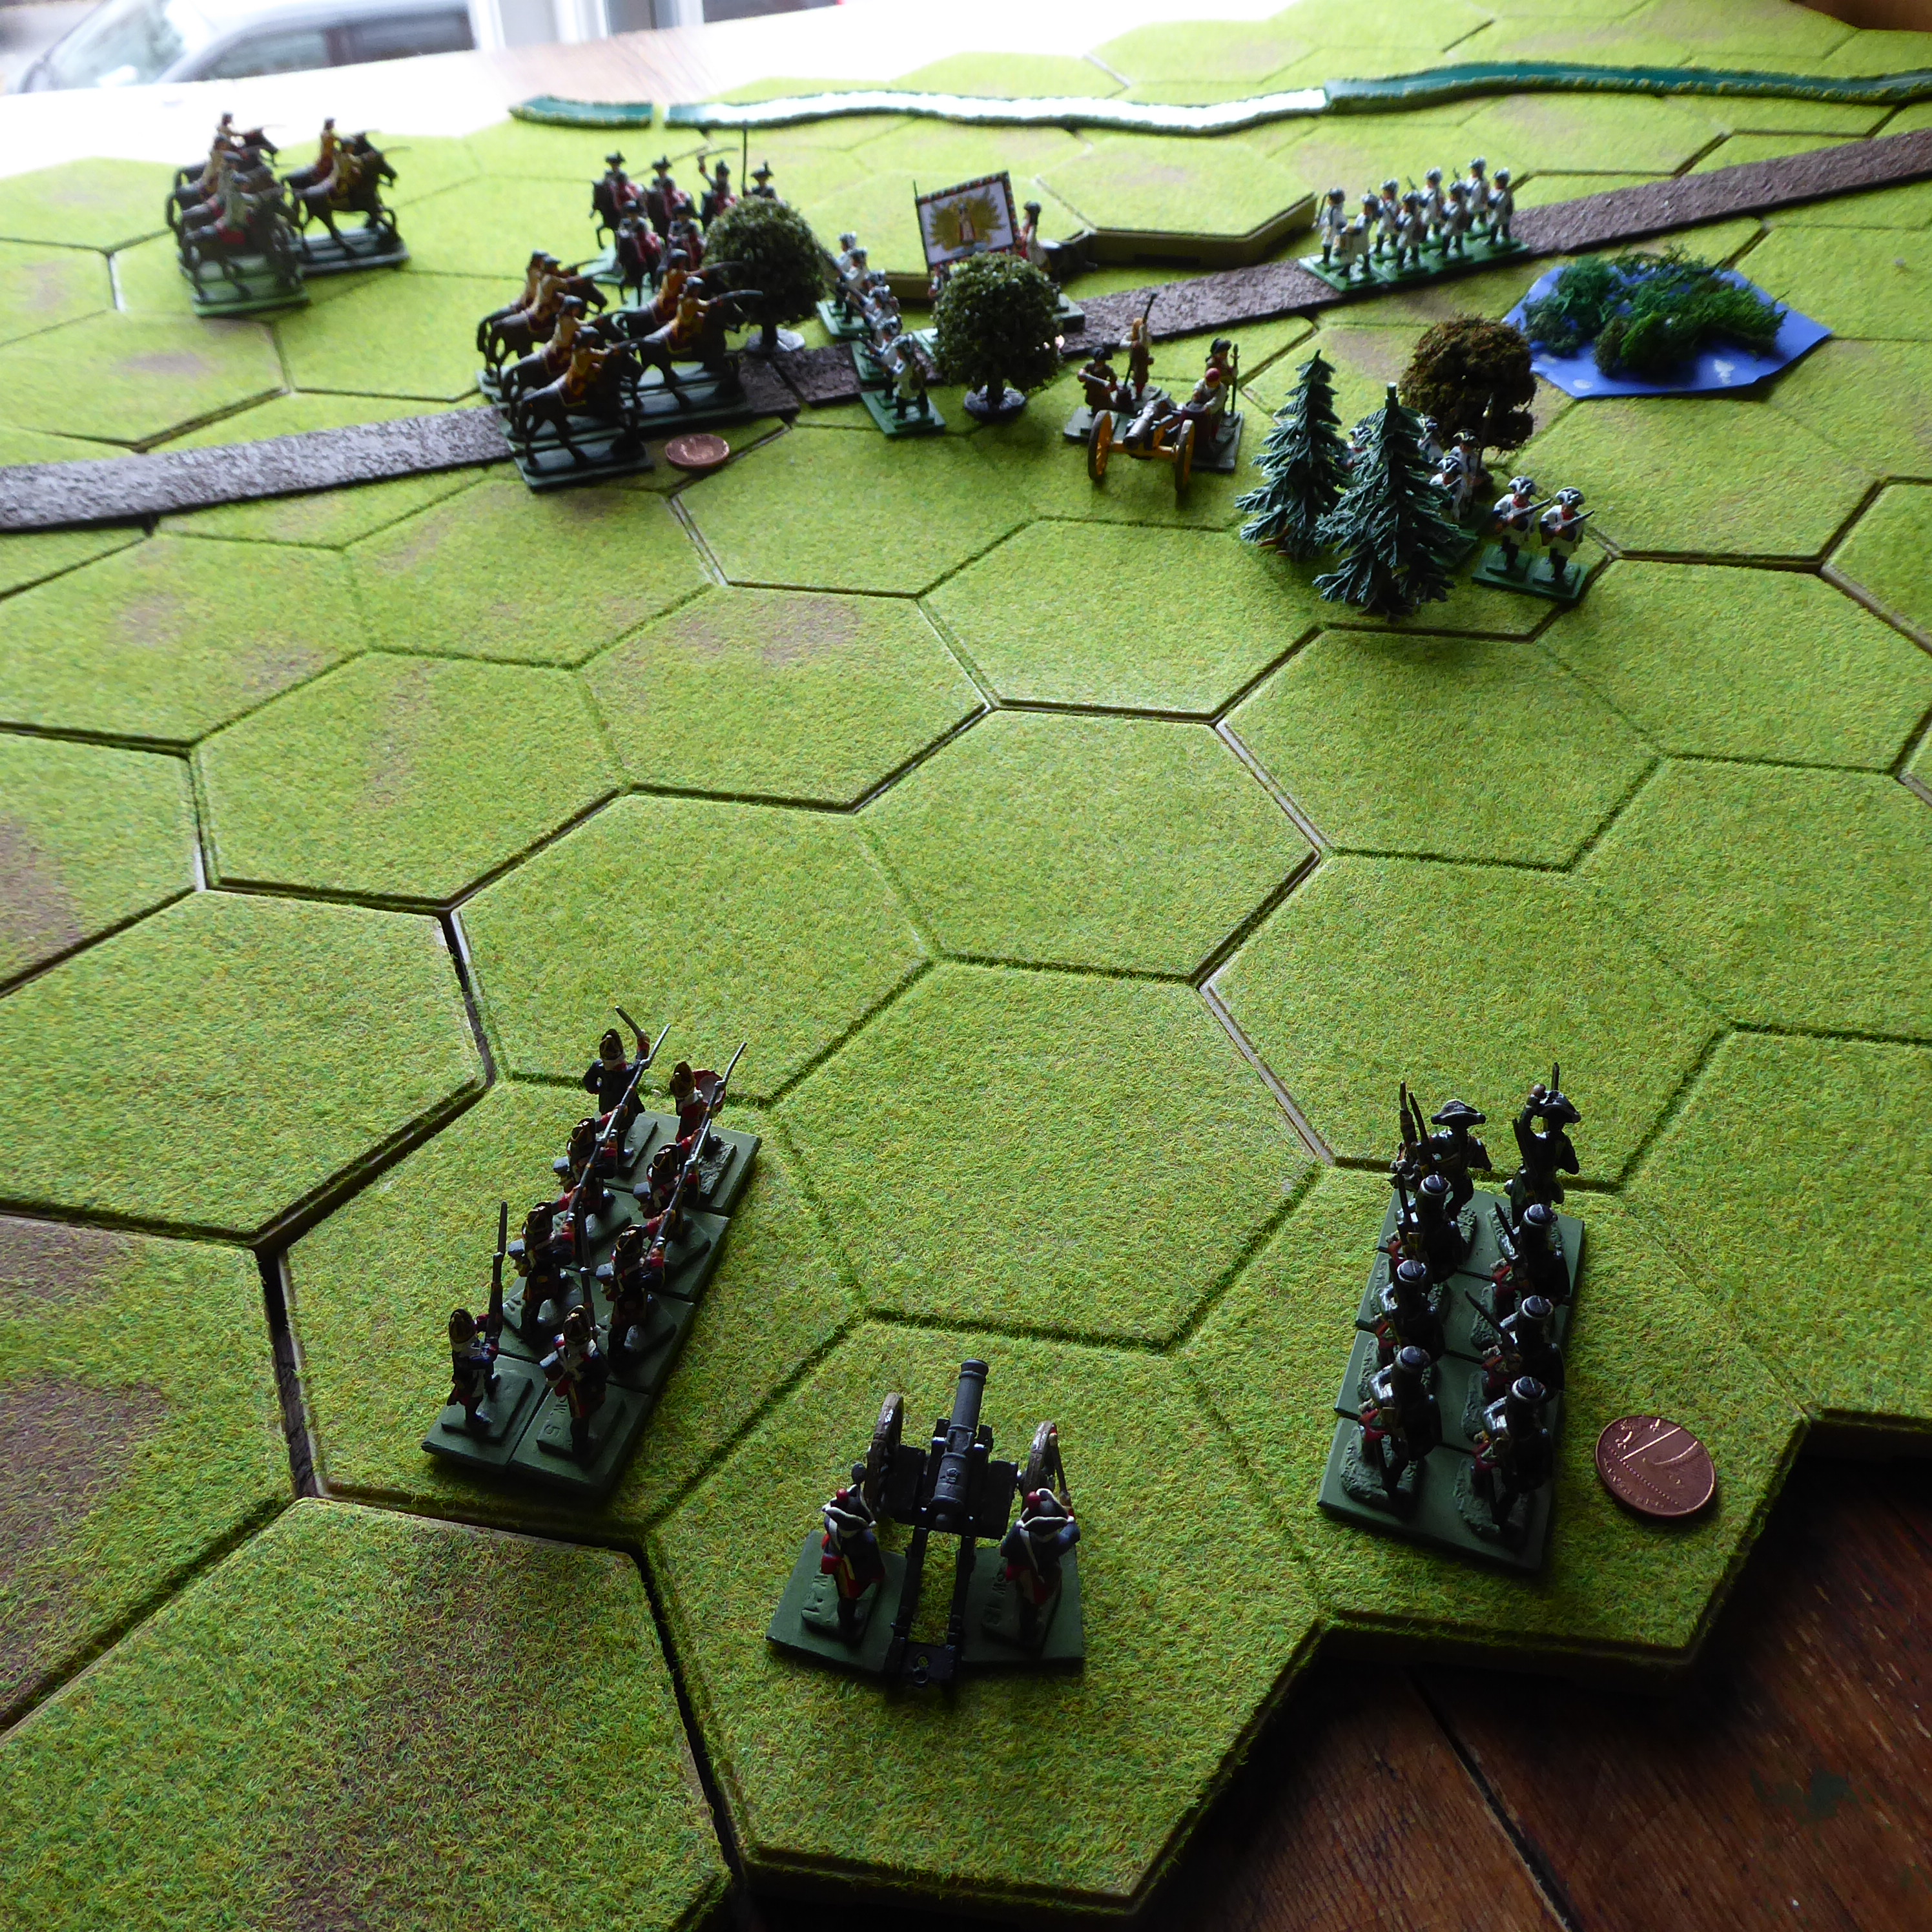
The article is illustrated with pictures by editor John Treadaway, which are nice,  but clearly not of Arthur's  actual game - they are of a Vienna 1683 game from the Bovingdon show in 2018 - I guess in lockdown, John has to raid his archives.  In fact Arthur suggests you could use the figures from  a 'Risk' set, if you are keeping it simple and don't already have 'horse and musket' armies ( Maudlin Jack Tar, I'm looking at you.. ).  His pieces are always worth a look, and I do like his 'keep it simple' ethos - I remember an article in 'MW' a few years ago in which he encouraged us to field Napoleonic armies in as  'basic' a paint job as possible, shall we say - posh painters went a bit ballistic, but I was with him all the way.     And Arthur has of course been doing this a long time - the oldest article I have by him is from Issue 9 of Miniature Wargames, published around Xmas 1983. That was a 'Bird's Eye View of the Wars of the 19th Century' - in which players emulate the crew of an observation balloon over the battlefield, while the actual commanders sit well back from the table,  and rely on written messages from the aeronauts. Splendid, if eccentric stuff !  Here it is : notice how magazine styles have changed.. (and Duncan MacFarlane was noted for lavish illustration!), and also something of a classic article by Mr Callan on the next page..

Those were the days


Which brings us to the subject of the current incarnation of 'MW'  - and actually, I think this issue isn't bad at all.  It felt a bit thin, on picking it up, and the Fantasy-theme cover picture is not my cup of tea, but there's a decent selection of articles. Conrad Kinch is still in there, with an interesting interview with 'Dave Walker of MS Paints', who is painting and gaming despite Multiple Sclerosis and is clearly a top man ( and we think we are suffering in  a little lockdown? )  and example to us all.  Dave Tuck has a Battle of the Boyne scenario which gives a nod to Grant and Asquith's 'Scenarios for all Ages' ,   suggests simple ammunition supply and weather rules and admits to using positvely old-school large units and figure removal for casualties.   Jon Sutherland's 'Command Decision'  features Narbonne, 436AD , Romans vs Visigoths and refreshingly does not prescribe a particular rule set , and there are lots of book reviews - ooh, Chris Duffy 'Instrument of War', very temptmg... ( and reviewed by Arthur Harman, as it goes!) .  A couple of large fantasy/sci-fi articles I'm afraid I skipped, but I found that from 52 pages of editorial , there were 37 that I will most likely read. They seem to have ditched the 'Darker Skies' middle-pages insert that appeared after Henry Hyde departed, so we are back to a more straightforward fomat, I think, and that's all to the good.   BUT the price - was £5.99.  Six quid for 52  pages of reading, hmm...     

It's intersting to compare with the other leading magazines - my most recent copy of 'Wargames Illustrated' ( issue 399 ) was £5.25 for 106 pages.  ( 19 of which were advertising ), and Wargames Soldiers and Strategy' ( no 113 ) was £4.95 for 82 pages ( 17 advertising ).    By my calculation that's 11.5p per page of editorial in 'MW',  7.6p per page in 'WSS' , and 6.0p per page in 'WI'.  Quite a difference, and I wonder if  a large part of the reason for that is the larger amount of advertising ( and therefore income ) in the other  two mags,  which perhaps allows them to keep both the price down and the number of pages up.  But you pays yer money and takes your choice, and on this occasion I've bought a set of Horse and Musket rules from a veteran and interesting  'game designer' (sorry, Arthur!) for £6 - if they work out well,  that's not too bad a price?

Now I need to find  myself a simple square-grid game mat or board, and give these rules a go! In the meantime, keep safe, and well, everyone.  


Thursday 22 April 2021

D-Day Dodgers : Reading Around

Having dwelled on the  Seven Years' War recently, and wanting a bit of change, I have been thinking a little about my tentative 'D-Day Dodgers'  WW2 in Italy project, if I might grace it with that title. As you may have already seen, I have a small force of vintage 20mm British and German WW2 figures, with more recently-acquired  equipment and AFVs, and I have a mind to use them to game the Italian theatre 1943-1945.  I have accumulated a few useful books which ought to give me a reasonable grounding in the subject, and am slowly working through them.  

The campaign started in  Sicily,  so it seems only natural that first up would be   James Holland's  recent 'Sicily 43' :   


An account of - you guessed it - the allied invasion of Sicily in 1943. So, when this book was published in the summer, it was a  'must-have'  (  and popular enough to be on special offer at supermarkets, so also a bargain ).

I like James Holland - I first read his account of the defence of Malta, which I've always been interested in, and was impressed. I've also enjoyed his WW2-based podcast 'We Have Ways of Making You Talk' with comedian Al Murray  ( who, it turns out, is no slouch on the subject ).  He is very much of the newer generation of popular military historians, including  Anthony Beevor and  perhaps originating with Lyn McDonald  ( who has, sadly, recently passed away, I gather ), who try to use as many eyewitness accounts from those on the ground  as possible, not just the 'top-down'  story of the senior commanders' thinking and the orders they issued.   Holland certainly finds a lot of witnesses, from all sides and all levels, and there are some brilliant stories: the Canadian 'Hasty Ps' attack on the hilltop town of Assoro, involving climbing a 1000-foot cliff  to reach the summit, is a particularly memorable one. Hmm..how to game that?   However,  I find that this very volume of testimony can make the book a bit of a slog at times, just like the actual campaign - especially during the description of the initial landings, the narrative would quite abruptly switch from one account to another, and there were so many of them that it was difficult to remember who was who, and where.  There are a commendable number of maps, which is great, but still it's hard to keep stopping and trying to work out where the action just moved to.  However, that is only a small criticism, it's a very good book on an overlooked subject.  

Previously I had read an older account of that campain,  'Sicily: whose victory?' by Martin Blumenson (1968, in the Purnell's History of the Second World War' series) - much more of a top-down look, and  with something of an agenda to paint the campaign as a missed opportunity, even a German 'victory' in that they managed to evacuate most of their troops and equipment safely onto the mainland.  I don't think I'd agree necessarily - as James Holland points out, this was the largest seaborne invasion ever mounted up to that time, and was planned by British and American staffs  new to working together, and intially a long way from the target. In truth, their main concern was simply that the landings  must not  fail, and this they achieved.

I have two accounts of the  Italian campaign as a whole : Richard Doherty's 'Eighth Army in Italy  (The Long Hard Slog )', from Pen and Sword books,  and  Eric Linklater's 'The Campaign in Italy' ,  the 'popular' version of the offical history , from HMSO and published 1951. 


Both are 'top down' accounts, describing the actions of Divisions, Brigades and sometimes Battalions, but not often any lower level and with only occasional eyewitness accounts. But they will tell the basic story, and I was particularly glad to find Eric Linklater's volume. He is an excellent and properly literary writer, having published many novels  ( I have mentioned  'Private Angelo' , set in this same time and place, in an earlier post )  and several non-fiction works, and his elegant prose is a pleasure to read :  the problem may be just finding the time.  Richard Doherty's book is more recent (2007) and a bit more brief, about half the length, so I suspect it will be read first!

Another useful find has been Anthony Tucker-Jones'  'Armoured Warfare in the Italian Campaign 1943-1945' in the 'Images of War' series from Pen and Sword. It gives a  very brief account of the campaigns, but concentrates on photographs of the combatants, especially their AFVs. Very useful, and it shows the rather polyglot nature of the forces, what with British, American, German and Italian types all involved, and the 'mid-war' nature of the equipment - so not all Tigers and Panthers, thankfully.  I certainly need more Bren carriers, and some Italian stuff is a must - I must look out for a Semovente, someone must do a model.  There's an inspiring picture at the front, of a unit of Churchill tanks on a typical Italian hillside near the river Marno - I can just see a gaming  table emulating that. 

Speaking of the terrain leads me to Pat Smith's  'Setting The Scene : volume 2 Creating a Wargames Layout for the Mediterranean' ,  published by the author and Steve Lampon, available from Steve's website  ( I was able to collect in person last summer from Steve's home, in Saffron Walden - I could see a wargames table set up through the window! ). 


 For what seems to be a self-published book this is pretty classy ( I think it helps that Steve runs a design consultancy ),  glossy A4 format, 150 or so pages and giving step-by-step illustrated guides to making terrain mats, mountain boards, buildings ( complete and  battle-damaged ), olive groves, vineyards, pillboxes and block houses and all manner of 'terrain clutter',  plus chapters on figure and vehicle painting.  The focus is on Napoleonic ( Peninsular War )  and WW2 ( Sicily and Italy), so I thought it would be interesting, as I think there needs to be a distinct 'look' to the games to give that Italian ambience.   There's also  guest spot from  Moiterei's Bunt Welt blog on the Italian WW2 army, which is interesting. It's all rather lovely,  I thoroughly recommend it to anyone who wants to really go for it with Mediterranean style terrain, and the authors have a couple of other books available  - one is on 'Winter Wargaming' -  so more power to them.   The only reservation I have is, I'm not sure I'm up to their standards!  There are some serious pieces of modelling in there, which are perhaps beyond my abilities and resources. But there are loads of ideas,  and some will rub off, I'm sure - for a start, Olive Groves and Vineyards are a must.. 

 And finally - a bit of a punt from a recent sale at the Naval and Military Press, I took a chance on 'The Tiger Triumphs - the story of three great divisions in Italy' .

This is an N&MP reprint of a volume from  the officially sponsored "Tiger Trilogy"  and tells the story of the 4th, 8th and 10th Indian Divisions in Italy 1943-1945.  It was originally published by HMSO in 1946, the two earlier volumes, covering  Eritrea, Syria, the Western Desert and Tunisia having been  published while the war was still going on. As I've said, I am interested in the multi-national nature of the forces involved  especially on the allied side, so I feel I can't just have generic 'British', and some Indian units seem a very good idea. The book reads well, and has descriptions of terrain and actions that may be quite inspiring for gaming the campaign. There are also orders of battle for the three divisions, which could be useful, I wonder if Colonel Badger's ( entirely fictional ) West Suffolks might have found themselves attached..?  Of course, doubtless  all the commanders, and the viewpoint of the authors. will prove to be very much 'white British',  but from reading the introduction and some early pages  the general tone is of pride and admiration for the Indian troops. I think it may  make a very interesting read. 

 Phew - so that's a lot of reading for me, and a lot of writing to describe it, I  hope it has been interesting!  I like the whole idea of  'something different' that  I hope an Italian setting will give my games, and with luck these volumes will provide plenty of inspiration.  Let's hope I can translate that to the table top!

Keep safe, and well, everyone. 

Wednesday 14 April 2021

The End of the Affair

 We left the battle outside Rahden  at an early stage, with pursuing Prussian Cuirassiers charging determinedly against the  Austrians at bay.  I will give a fairly 'blow-by-blow' account of the ensuing battle, as ( plot spoiler alert! ) it didn't take up too many turns.

Austrians stand fast..

Von Gehirne's Prussians won the initiative and moved first in Turn 2,  bringing on their third cavalry unit ( von Kleist Horse Grenadiers ), and opening ineffective fire with their gun. Their 2nd squadron von Preussen Cuirassiers charged into action against the Austrian Cuirassiers,  forcing them back to the hill they had started from - the Prussians used the 'follow up' rule to attack again, and the dice was with them, taking 1 SP from the Austrians, quite a reverse. The Austrians fought back in their turn, their Cuirassiers pushing back 2nd Von Preussen, while the 1st Battalion Botta infantry counter-attacked 1st Von Preussen and pushed them back, too!  The fighting was really back-and-forth stuff.  At the end of the Turn, losses were even at 2 SP each.

getting stuck in - Turn 2

Turn 3 opened encouragingly for  Baren's Austrians, their gun and 2nd Botta infantry's fire taking 2 SPs from the Prussian infantry, while 1st Botta's musketry further pushed back their Von Preussen Cuirassier opponents. But the Prussians swept back - their gunners found the range and took 1 SP from their opposite number, and their Horse Grenadiers followed-up by charging the Austrian gun, forcing the gunners to retreat ( the alternative, of losing 1 SP, would have wiped them out), and following up, forcing them back yet again! This gave a small rules quandry, resulting in me concluding  that only the crew would retreat, leaving the gun behind them ( it seems unlikely that gunners would be able to trundle their piece backwards with them under cavalry attack!), I decided that if they could subsequently return to the same hex as the abandoned gun, they could resume firing. This was a major blow against the Austrians. To add to the pain, von Kleist foot opened fire on 2nd Botta, and took 1 SP.  After Turn 3,  losses still level at 4SP each.. 


Disaster - Austrian gunners do a runner

The Prussian cavalry had torn a big hole in the centre of the  Austrian position, but the fightback was determined - their Cuirassers and 1st Botta pushed back   2nd Von Preussen and the Horse Grenadiers, while 2nd Botta's fire inflicted casualties on the Prussian Fusilers. On the Prussian turn the Horse Grenadiers suffered further, losing 1 SP in the continued melee with Erzerhog Ferdinand Cuirassiers.  6SP to 4SP in favour of Austria,  perhaps the tide was turning?

 Turn 5 began well  for Austria,  Den Baren winning the initiative, and his Curiassiers hit the Horse Grenadiers for another SP loss -   but the Prussians fought back savagely.  Their Fusiliers attacked 2nd Botta, pushed them back and took the wood they had been holding, while both von Preusssen sqaudrons surged forward - 1st squadron pushing back 1st Botta, following up and then taking 1 SP from the battered infantry,  while 2nd squadron tore into the Austrian Cuirassiers, taking their final SP - the end of the Austrian horse. Disaster for the Austrians : 3 SPs lost in one turn,  gun out of action, cavalry gone.  Score at the end of Turn 5, still level at 7 SPs each lost, but things look desperate for the Austrians. 


Turn 5 - guns abandoned, no horse: Austrian foot holding on - just

Turn 6 was the coup de grace - aided by good die-rolling, the Prussians 1st Cuirassiers and Horse Grenadiers now thundered into 1st and 2nd Botta infantry, taking 1 SP from each of them, while Prussian foot and guns began to move around the open flank of the Austrian position.  But the Austrian foot were still fighting - their 2nd battalion pushed the Prussian  fusiliers out of the wood, while 1st and 3rd battalions fire forced the 1st von Preussen 'yellow riders' back,  twice. A spirited defence, but crucially their gunners had not been able to recover the guns, and those 2 SPs lost to the Prussian cavalry had pushed the Austrian losses to 9 SPs, meaning that  Den Baren's men had reached their Exhaustion Point. From now on, defensive fire and retreat moves only - and  those Prussian reinforcements would arrive soon. 

Turn 6:  Cavalry coup de grace
 -

And so to Turn 7 - the Prussians won initiative, and could now roll for entry of their 4 battalions of fresh infantry - rolled a 6, success!  An imposing mass of foot marched into view, leaving the three Austrian battalions facing  six Prussian foot units,  three heavy cavalry and two guns - surely an impossible situation?


Prussian masses march into view

And so it proved. Rupert Den Baren's men could try to make a fighting retreat, but would surely not be able to take a further 8 SPs from their pursuers to inflict exhaustion. More likely, the three battalions would simply be overwhelmed and destroyed.  Recognising the reality of the situation, Den Baren went forward to seek out his opposite number under a white flag, and agreed to surrender his remaining troops.  His previous panicky decision to abandon the city of Rahden and its fortifications had led him to this, but at least he could save his surviving units from decimation.  And so, into captivity they go - a major blow for the Austrian campaign.  If only they had stayed in the city and faced a siege or storm, they might have held out until a relief force could be sent.  Even during this battle they might have got away -  6 to 4 up at one point, and even having reached 7 SPs lost each on Turn 5, some better dice luck might have inflicted exhaustion on their enemy and allowed them to retire safely -  but now we will never know. The Prussians had the advantage of numbers and those fiercesome heavy cavalry, but their task was not easy, and their horse had performed well against a desperate defence - Fortune  ( in the form of dice )  had certainly been with them. 

What next for the campaign with a large part of the Austrian army eliminated?  Will the rampant  Prussians simply overrun them?  We shall see.. Meanwhile, I hope you've enjoyed reading this, as I did playing and reporting it. Keep safe, and well, eveyone. 


Friday 9 April 2021

Last Stand - or Great Escape?

Over the chilly Easter Weekend, what better than to fight out the final battle at Rahden in my 'Soldier King' campaign?  The Austrian force, attempting to escape had been overhauled by pursuing Prussians, and ( perhaps rather desperately )  turned to fight..  

Austrians Await Assault

The terrain took the main road  from the 'mini-campaign' map, and added further features by dice-rolling using Bob Codery's patent random Terrain Generator -  this rather pleasingly gave a nice cluster of  small hills,  some woods and a marsh close to the road. They afforded something of a defensive position, with a stream protecitng their right flank - albeit a very open left flank.    

The Austrian force was as follows ( Strength Points (SP) and ratings for The Portable Wargame ), with some units having taken losses in the earlier battle. I allowed  1 SP of losses to be recovered from each unit, as stragglers returned to the ranks - except for artillery units, where I assumed that damaged guns could not be quickly repaired. 

        Brigadier-General Rupert den Baren :  6SP    

        1st Battalion Botta d'Adorno Infantry , rated Elite :  4SP

        2nd and 3rd Battalions Botta d'Adorno , rated Elite : each 5 SP 

        2nd Squadron Cuirassiers Erzherhog Ferdinand , rated Elite,  3SP  

        Field Gun and crew,  rated Average,  2SP. 

  Total : 25 SP , with exhaustion point  at 9 SP. 

In the attacking Prussian Force, made up of pursuing Cavalry plus re-grouped foot from the earlier battle: 

    Generalleutnant  von Gehirne :    6 SP

    1st and 2nd Squadron von Preussen Cuirassiers,  rated Elite,  each 4 SP

    1st Squadron von Kleist Horse Grenadiers, rated Elite,  4 SP

    2nd Battalion 44th Fusiliers, rated Average , 4 SP

    1st Battalion von Kleist Frei Korps,  rated Average, 4 SP

     Field Gun and crew,  rated Average,  1 SP 

Total : 27 SP, Exhaustion Point also 9 SP. 

So an evenly-matched encounter at first, on points at least, though that Prussian cavalry force looks scary.  But the Prussians also had reinforcements on the way, in the form of no less than four more battalions marching from Rahden, towards the sound of the guns. These were 1 and 1/2 map moves away, hence I decided they would appear on the table after at least six game turns had elapsed. So,  on Turn 7, roll a dice, and they appear if 4, 5, or 6 is scored. If not, roll again on Turn 8, needing 3 to 6, and so on. 

The Prussian reinforcements as follows: 

        1st Battalion 44th Fusliers, rated Elite , 5 SP

        2nd Battalion von Kleist Frei Korps, rated Average, 4 SP 

        1st Battalion 'Wildganse' Jaegers , rated Average,  4 SP

        2nd Battalion  Jaegers,  rated Poor ( new Levies ),   3 SP

        Field Gun and crew, rated Average,  2 SP. 

Altogether a further 18 SPs, giving the Prussians a total of 45 SP with  Exhaustion Point 15 SP when these latter arrived on the table - but not before, I decided, as that would give the Austrians  very little chance! 

This level of forces is stretching my resources a little - the Prussian Jaegers made a welcome return their 'home' army ( after fighting for the Austrians in previous battles ) to give sufficent troops for the reinforcement group to appear. It also allowed the first appearance of some of the Spencer-Smith plastics recently gifted to me by Neil Patterson - two squadrons of  Cavalry appearing as the 'Yellow Riders' of the Prince Von Preussen Kuirassiers - and I'm pleased to see those familiar poses appearing the pictures here, 'proper old school'.     

If the Austrians could just hold off the initial attack and exhaust the Prussian first wave, they might just be able to slip away before the reinforcing infantry arrived to most likely overwhelm them. Not easy, however.. The Prussians leading troops need to hold the enemy in place and wear them down, until their main body of infantry can arrive and apply decisive force.

General den Baren  hurriedly  deployed his men, with the 1st and 2nd Battalions and the gun using the woods by the road for cover, and his Cuirassiers  on the hill to the right, ready to charge downhill, while the 3rd battalion was held back in reserve. 

Turn 1 : 'Yellow Riders'  Charge!
 

As in the last game, I used Bob Cordery's 'Portable Napoleonic Wargame' Brigade level rules, with my in-house tweaks for 7YW flavour, plus part of Mike Lewis' amendments to melee rules.  Bob's card-driven activation system ( from the original 'The Portable Wargame' )  was also used, allowing on average about half of each army's units to be activated each turn.

And so to Turn 1,  and immediate action! The two  Prussian 'Yellow Riders' Cuirassier  units entered from the North - and the 1st squadron promptly charged 1st Austrian infantry at the heart of the position,  holding the road  where it passed through woods.  The Cuirassiers's dice roll was enough to win the ensuing close combat, but  the Austrians held their ground , opting to take a 1 SP loss. First blood to Prussia: meanwhile the 2nd squadron Cuirassiers advanced to the East of the road, tempting their  Austrian counterparts to fight. Over to the West both the Prussian infantry units and their gun arrived, the foot advancing in column to quickly threaten the Austrian left flank.   

Austrian Cuirassiers counterstroke
 

The Austrian response was decisive.  2nd Battalion Botta opened musketry fire at long range and rolled high, taking 1 SP from von Kleist foot, and Erzherhog Ferdinand Cuirassiers swept down from their hill to charge the 1st von Preussen, who were still entangled in melee with the Austrian infantry - the Prussian Cuirassiers took a 1 SP loss under the combined assault. Turn 1 ended with losses of 2 SP for the Prussians, 1 SP for the Austrians.  This looks like it will be a fast-moving fight! 


Battle well and truly joined

Now with battle well and truly joined, I hear Mr Bennet intoning 'you have delighted us long enough, my child',  and I must not overstay my welcome.  Watch out for the next instalment to see how events unfold, and in the meantime keep safe and well, everyone.