Showing posts with label 3by3 Fast Play. Show all posts

Tuesday, 3 January 2023

D-Day Dodgers : Operation Ponte Natale

Happy New Year to one and all.  Now let's go back to just before Xmas - 1943, that is, 'somewhere in Italy'.  British forces launch an operation to secure a vital ( yet entirely fictitious ) river crossing at Ponte Natale; German forces mount a hasty defence. 

The explanation for this: I fancied to do a quick and simple game before Xmas, and I thought it was time the 'D-Day Dodgers'  WW2 Italian campaign forces had an outing. I thought Bob Cordery and friends 'Fast Play 3X3' version of The Portable Wargame might  offer something very simple, so I consulted his recent book The Portable Wargame Compendium.  I was in luck: see page 47 for 'Fast Play 3X3 Portable WW2 Operational-Level Wargame Rules' by Mark Cordone - for fighting the major battles of World War Two.  Essentially a combination of the '3 X 3' system  and the WW2 rules in Bob's  Developing the Portable Wargame book.  That should do nicely. 

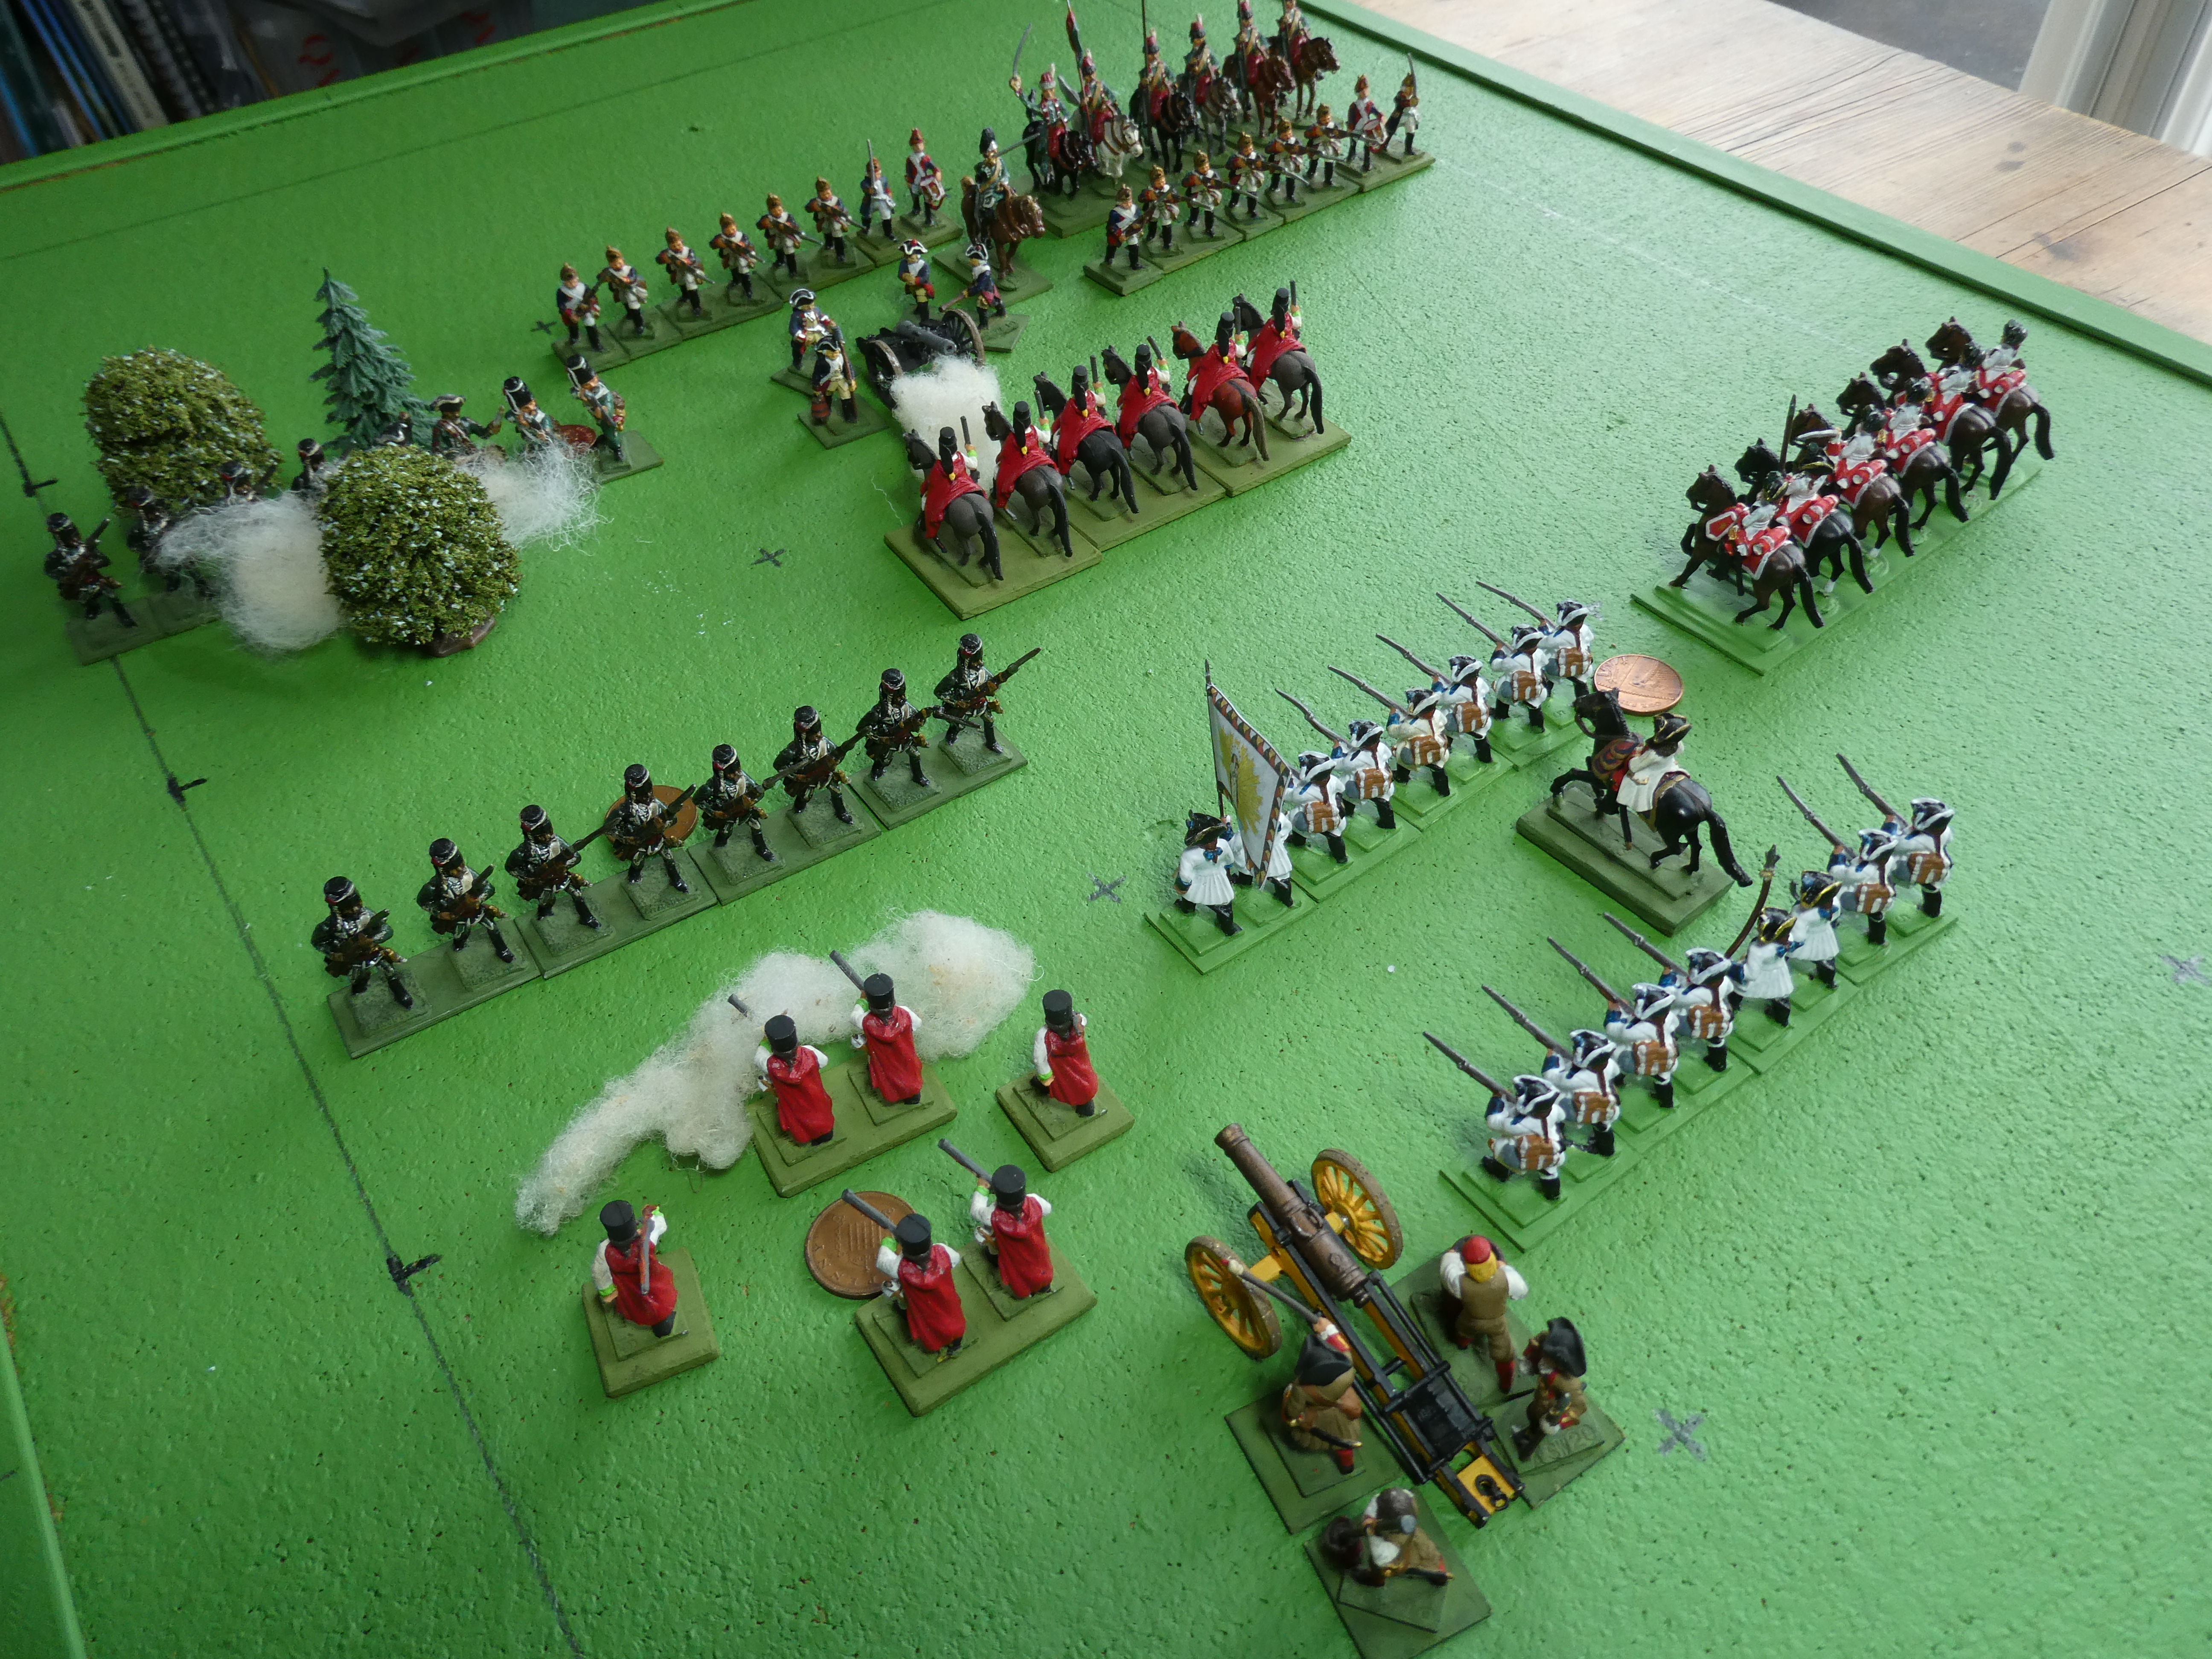
The Compendium also has a chapter containing a selection of '3X3'  terrain set-up suggestions - I chose number 20, which features a river with a bridge,  and hills overlooking them, which seemed suitably Italian and a good defensive position for the Axis forces. I kept it very simple, as you can see:

The Bridge at Ponte Natale

Armies in this variant are of 6 units plus an HQ each side, available  unit types being Airborne, Armoured, Artillery and  Infantry all with 2 Strength Points (SP)  each ,  plus some special units:  Assault Guns/Tank Destroyers, Self-Propelled Guns and Heavy Armour which have just 1 SP each. ( I am assuming that the basic (2SP) units represent Brigades, or perhaps Divisions? )  There must be at least three Infantry units in each  army. 

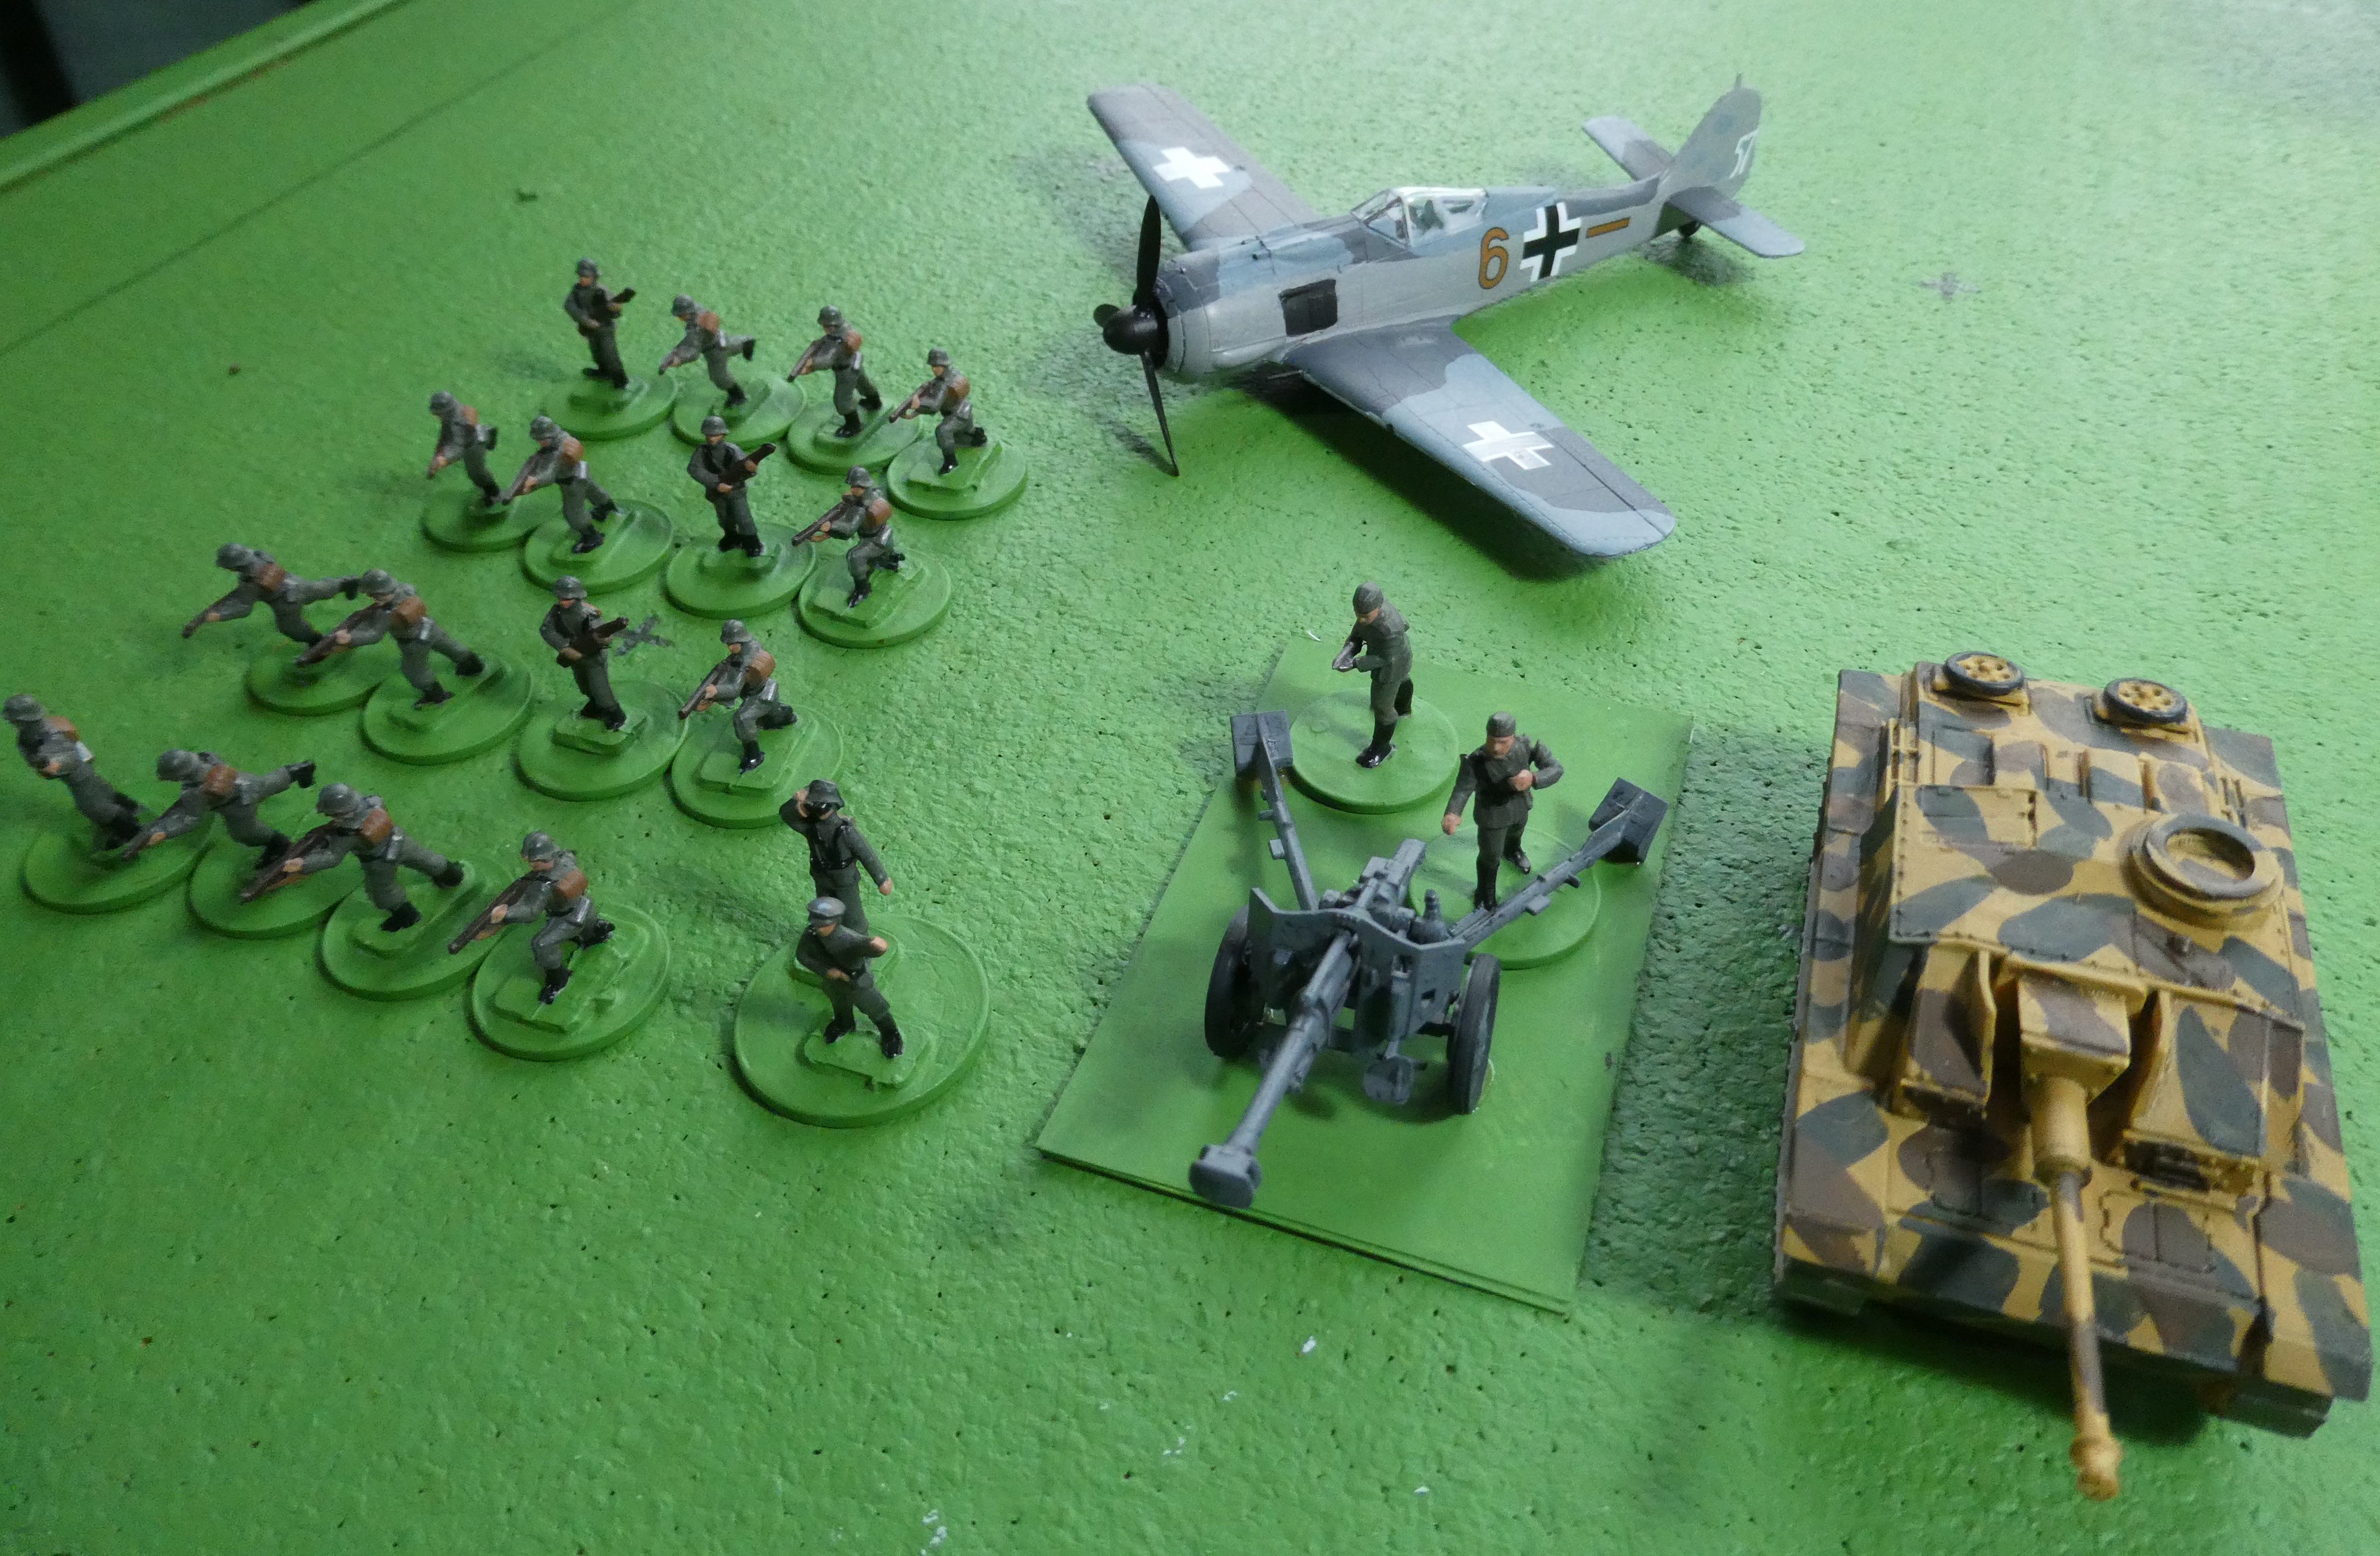
With that in mind, I selected an attacking British Force : 

General Badger and 'Badger Corps'

Three Infantry units, 1 Armour, 1 Artillery, 1 Self-Propelled Gun  : total 11 SP

and a defending German Force :    

Her General Von Kleist and Kampfgruppe Kleist
 

Four Infantry Units,  1 Artillery, 1 Assault Gun : total 11 SP.

Each side also has its HQ, of course, and the ability to conduct airstrikes, for which the model aircraft make a rather extravagant 'marker' (all that is required by the rules, simply to mark the grid area under air attack) . I decided that all units would be 'Average' quaility, just for simplicity (  if 'Airborne' had been in use by either side, it would have been only fair to make them 'Elite' ).

Allowing 6 SP for each side's HQ, the total strength was 17 SP each, therefore 'Exhaustion Point' would be reached at a loss of 6 SP. 

Deployment is Defender first, in his baseline or middle row grid areas ( or Reserve ),then Attacker in his baseline or Reserve areas only ( both sides' Artillery units are placed in 'Reserve' area  ). I duly deployed both sides: 

Iniital Deployments

Notice a single brave German infantry deployed in front of the bridge, the other three remaining behind the river. Perhaps unfortunately for the defenders, I forgot to allow any of them to be 'dug in' at the start - perhaps the defensive position was only a very hasty one, having just rushed to the area in response to the British advance! And so to battle. 

The  sequence of each turn starts with initiative die rolls (1D6) - highest roll  moves first, and the die score gives the number of units that can move. Then 'Airstrikes' : again 1D6 each, highest score gets an airstrike - if a tie, both get strikes. If one side is deemed to have air superiority, they get two dice and use the highest score - I gave this advantage to the British, as befits Italy in 1943. A nice touch was that the 'Initiative' die rolls could give a result which indicated bad weather - so no airstrikes. Then both sides Artillery get to fire simultaneously, followed by the player who won the initiative moving his units, then combat, then the other player moving, and combat again.   That's the end of the turn, and we go again for the next turn.  

Victory is achieved by one side if they can occupy one of the opposing side's baseline grid areas at the end of the opponent's combat phase - so obviously the British needed to cross the river to win. If neither side achieves victory that way, battle continues until Exhaustion Point(s) are reached.  There can also be a designated terrain objective that must be taken to achieve victory - though  in effect that would be the same, the British would need to cross the river and reach the German baseline. By default I assumed  the Germans would win if the British did not reach their baseline - it seemed unlikely that the Germans would try to counter-attack to reach the British baseline!


Airstrike! First blood to the R.A.F..

I won't give a blow-by-blow account, partly because despite the simplicity of the rules, I still managed to miss vital points on several occasions, so I may have played them completely wrong at many points! Suffice it to say it lasted eight turns, and was pretty 'ding-dong' back and forth stuff. Airstrikes and Artillery had a big role right from the start, on Turn 1 a British airstrike hit the German  infantry defending  the bridge, taking 1 SP and 'pinning' it,  only for the German artillery to mete out the same treatment to the British infantry advancing to attack the bridge, and forcing the supporting Self-propelled guns to retire!

The British made a general advance to  keep pressure on the defenders across the board, even though the bridge was obviouly going to be the focal point ( I decided that the river could only be crossed there).  The Germans hastily 'dug in' their infantry where possible, and brought up their Assault Guns to back-up the bridge defenders. British airstrikes wiped out the forward defending  infantry unit as early as Turn 2, while British artillery concentrated on counter-battery fire on the German artillery - without  much success, it has to be said.  German artillery focussed on trying to break up the British attacking formations, with quite destructive effects. This was lucky for the Germans, as  they knew they would have fewer opportunities for airstikes.

British SP guns go 'up in smoke'
 

The British central  thrust at the bridge struggled from the start, with their Self-Propelled Gun unit destroyed  by defending Assault Guns  quite early on, but their infantry fire kept the pressure on by destoying a second German infantry unit - at the end of Turn 3 losses were British 3SP, Germans 4SP.

Turn 6: the Luftwaffe makes an appearance
 

Inevitably the British armour had to move to the centre to spearhead the attack on the bridge - probably should have done so from the start!  British armour and infantry repeatedly tried to advance to assault the bridge, but defensive fire from the German infantry and Assault Guns kept knocking them back. Finally the British armour and Infantry attacked across the bridge on Turn 7, taking 1 SP and 'pinning' the defending infantry, but themselves having their infantry forced back - attack stalled! 

Turn 8: the final British 'push'


In the next turn, the British won the initiative and pushed forward again for another assault - defensive fire damaged the British armour, but in the ensuing close combat the British finally prevailed, the defending  German infantry and Assault Guns both being destroyed. The British infantry was forced to retreat, however, leaving their Armour, with only 1SP left, sat unsupported on the German baseline... thus the Germans on their turn had to kill the British armour to save the game. They brought their last Infantry unit down from the hill, attacking the British tanks from the flank - and just couldn't kill them. The infantry lost 1SP and ended up pinned down, the British armour held position on the defenders' baseline, and the day was won. 

German Infantry's desperate counter-attack ( 2p coin for 'pinned', 1p for 1SP lost )
 

Final losses totals : British 5 SP,  Germans 9 SP  - only 1 German infantry unit and their Artillery remained in position, both having only 1SP each remaining.  So, a pretty thorough bashing received by the Germans, but they made it pretty tough for the attacking Brits.  As I've said, I think I managed to play the rules wrong in several ways - a salutory lesson in just how easy it is to overlook or misinterpret even the simplest rules! In paricular I got the characteristics of the 'special units' (SP Guns and Assault Guns)  wrong, and even worse I only allowed firing to occur about half as much as it should! I think if played correctly, it would have been a much more 'quick and dirty' battle, but all the same I had a throughly enjoyable time, and the balance of the game  swayed back and forth throughout before that decisive last assault over the river.  A nice simple little game for a pre-Xmas afternoon, before the eating, drinking and gifting took over - and it gave the D-Day Dodgers some table time, of which there needs to be much more, I like these 'old-school' forces.  I plan to review them and organise them  a bit more formally - probably making formations suitable for the 'Rapid Fire Reloaded' rules. does that count as a New Year's Resolution? 

I hope everyone had a good festive season, and are not too downcast by the return to normality and (for those in the Northern Hemisphere ) dreer January.  The answer is of course, to cheer ourselves up with hobby activities... Meanwhile, keep well, everyone. 


Sunday, 7 August 2022

Der schnelles tragbares 'drei-mal-drei'-Kriegsspiel..

..which should, more or less, mean 'Fast Play 3 by 3 Portable Wargame' :  Thanks to Google translate for the title of this post. I leave it to proper German-speakers to decide whether it is sensible, or if as John F. Kennedy famously said, 'I am a doughnut!'.  I suppose the following might be the battle of 'Dreimaldrei'..

As introduced in my last post, I thought I'd get back into the gaming habit by trying out Bob Cordery and friends'   'FP3x3' variant, with my  7YW Prussians and Austrians - see that post for forces and initial setup.  I thought I'd use my usual 'Portable Seven Years War' variant rules for formations, firing, close combat etc, fitting them to Mark Cordone and Bob Cordery's basic '3x3' system, and essentially 'kriegspeiling' anything unexpected that came up - i.e. make it up as you go along! If I'm honest, a few things did 'come up', and what with those, taking ( too many ) notes and taking (also too many ) pictures, I wouldn't say I actually achieved 'Fast Play'!  But next time, it will be quicker. The game ran to eight turns before a decision was reached, though that  could have been sooner had the dice landed a little differently. A brief turn-by-turn summary follows:

TURN ONE:   Austrians are attackers, so go first - but only roll two unit activations. Their field gun opens fire on its opposite number, - and misses. Their Grenzer light infantry advances and  skirmishes against Von Kleist Frei Korps in the wood, score a hit and take 1 SP - a good start! Prussians roll a six and can activate up to 6 units - their whole force, if required. Their gun does better, forcing the Austrian gunners to retreat. Prussian Uhlans decide that attack is the best form of defence, coming out of the  reserve area and charging at the Austrian Cuirassiers on their left - get stuck in! The resulting  melee is inconclusive, neither side suffering any hit.

Turn 1 from Prussian side: cavalry fight, top centre

TURN TWO: Prussians win initiative roll, and go first with five activations. Their gun hits again, taking 1 SP from 1st Botta d'Adorno infantry. The Uhlans, however are thrown back by Austrian Cuirassiers. Two battalions of von Kleist Frei Korps in the wood do a 'one-two' on Austrina Grenze Light Infantry, who are forced to retreat AND Lose 1 SP.    Austrians roll only two activations again, not very good when they are supposed to be attacking!  1st battalion Botta d'Adorno charge the pesky Prussian artillery, but the combat is inconclusive - the gunners have a supporting unit, and their commander present to gee them up.  

Turn 2: Austrian foot charge gun, but Lights being pushed back

TURN THREE: Austrians win initiative, but only three activations. 1st Botta retire from the combat, allowing Grenze Hussars to charge the Prussian guns! Resulting melee still inconclusive - gunners obviously dived for cover successfully.  Light infantry hang in there,  skirmishing versus Von Kleist. Prussians have only two activations, 2nd Von Kleist goes at the Light infantry with the bayonet, but rolls low, takes another SP loss and is destroyed! Prussian gunners manage to disengage, but are forced to retreat into the Reserve area. I 'kriegspeiled' that, by ruling they have to stay there, inactive,  on the next  move. 

Turn 3 : Grenze Hussars 'charge for the guns'!

 TURN FOUR:  Prussians win initiative again, so much for Austrian 'attack'! Uhlans charge Cuirassiers again, but take a hit and lose 1 SP.  1st battalion 44th Fusiliers try to repel Grenze Hussars, but with no effect.  Austrians have only one activation, but use it well - their gun opens up on 1st von Kleist foot, forcing it to retreat to the Reserve area. That means there are no Prussian units in their right-hand grid areas.  The rules say that 'if, at the end of a player's turn, one or more of his columns does not have at least one unit in it, his army is defeated'.  Luckily for the Prussians, this is at the end of the Austrian player's turn.. but prompt action will be required!

TURN 4: Prussian right flank in danger!

TURN FIVE:  Austrians gain initiative, can they finish the job? Their Cuirassiers keep slashing and thrusting at the Uhlans, but neither gives way. 1st and 2nd Botta foot attack 1st Prussian Fusiliers in the centre, but outnumbered Fusiliers hold firm. Light infantry advance unopposed on the Austrian left, but can't make the Prussian baseline - which would have been a winning move,  as Prussian units can't advance from Reserve into a square occupied by the enemy.  So, on the Prussian turn 1st von Kleist manage to get onto their right-hand baseline square - and force the Austrian Light infantry to retreat - thus Prussians avoid defeat.  Fusiliers and Botta foot continue their struggle, with no hits to either, but Cuirassiers lose 1 SP in melee with Uhlans. This will lead  to  drastic effects on the next turn..

Turn 5: Prussians recover ground on their right, phew!

TURN SIX:  Prussians win initiative: the Uhlans inflict another SP on the Austrian Cuirassiers, who are destroyed. Uhlans can follow-up, that allows them to hit the Grenze Hussars in flank, Grenzers retreat - Uhlans can follow-up again! this time they attack the Austrian light infantry - who retreat. Three combat wins on the trot for Uhlans, chaos in the Austrian ranks! Only the presence of the Austrian gun prevents a further follow-up. Elsewhere, 2nd Fusiliers are able to turn on the flank of Botta infantry, though Botta holds OK , and finally Von Kleist foot charge the poor Austrian gunners, who are unable to retreat, as their Reserve area is already full, so must lose 1SP.  Near disaster for the Austrians!

Turn 6:   Uhlans (centre) create havoc!

But the Uhlans' mad charge leaves  them vulnerable, and on the Austrian turn the Grenze Hussars charge their flank, inflicting 1 SP loss, and the Uhlans are destroyed! 1st Botta d'Adorno fights back aganst the flanking 2nd Fusiliers, push them back and follow up to extend their line to the right. The Light infantry having been forced back into reserve, now re-appear on the Austrian right. Things look a lot more stable for the Austrians, much to their relief. 

End Turn 6 : Austrian stability restored

TURN SEVEN: Prussians win initiative -  Fusiliers keep fighting Austrian infantry, but no hits. 1st Von Kleist attacks Austrian gunners -but again, no hits. Prussian gun takes position in the wood. Austrian Grenze Hussars charge 1st von Kleist on the left, saving their gunners. In the big infantry fight, Prussian 2nd Fusiliers lose their 2nd SP and are destroyed , and 1st Fusiliers are then attacked in the flank by the Austrian follow-up They hold, but the Prussians now have only three units left, and none on their left flank. It could be the end this time..

Turn 7: beleagured Prussian foot, and left flank empty..

TURN EIGHT:  at this crucial  point, the Prussians win initiative; they must get troops back to their left flank on their turn, or lose the battle. They have their gun and von Kleist foot on their right - too far away.  1st Fusiliers in the centre, already engaged by two enemy units, must fight and win! They attack 1st Botta - and roll a '1'!  The Fusiliers must retreat into the Reserve area,  the Prussian  left cannot be saved, and indeed their centre is now gone too!  So, the game ends in a crushing Austrian victory.    

Turn 8: how it ended. Prussian collapse!

Well, that was actually a lot of fun! As I said before  I was very slow,  too busy taking pictures and making copious notes as it was my first attempt, but I reckon a game played under more 'normal' conditions would have needed less than one hour. I had a few issues come up that had to be resolved on the hoof, so to speak, as follows: 

(1)  Skirmishing - I wanted the Light Infantry to be able to skirmish, i.e. shoot up enemy units without making close contact, but the '3by3' rules simply merge shooting and melee into 'combat' for any unit adjacent to the enemy. In effect I simply allowed Light Infantry to use the musketry procedure from my 18th Century rules ( max range 1 square only, though ) rather than 3by3 'combat' - so they could shoot and inflict hits with no comeback from the target. But of course, I had to allow opposing infantry to fire back in the same way on their turn - OR declare a charge and go for 'combat', which they usually did. I wonder if it might be better to allow the Lights, if in skirmish order, to roll a dice for an 'evade', allowing them to cancel any hits when attacked, or reduce the likelyhood of hits? I'll think a bit more about that.            

(2) Two units in a square: with 18th Century units mostly deployed in line, they occupy the full width of a grid square. So if there are two units in the square, it sort of implies one is in front of the other. If an enemy unit attacks, is it assumed to attack the 'front' unit? Or maybe it can choose which?  Important if there are, say, an infantry and a cavalry unit sharing the grid square. I need to think about that, too- I rather 'bluffed it out' on a couple of occasions. 

(3)  Supporting units - Mark Cordone's original 3by3 variant says if two units are in a grid square and one is attacked, one unit fights but gets a plus one for the supporting unit. Bob's 19th Century version in the next chapter of his 'Compendium' book rules that supporting units must be of the same type to give the 'plus 1'.  Hmmm... I think I'm with Mark. I wasn't sure how to handle artillery as a 'support' in close combat - artillery are obviously useless in melee, but if this is more generic 'combat' over a short range, then canister should be allowed for - that must be a significant bonus?  Again, some thought required. 

Apologies to seasoned players who have discussed and settled all these issues on-line - I'm afraid I don't do Facebook, so I haven't seen the 'PW' group there! Maybe I need to sign up with Mr. Zuckerburg, however reluctantly. 

 Anyway, I thoroughly enjoyed the game, the '3x3Fast Play' concept is great for getting an easy game on the table when you don't have the time or space for something more serious, and there's got to be scope for 'mini-campaigns' where the battles can be quickly fought out this way - as I think fellow blogger Maudlin Jack Tar is indeed doing.  I commend this idea to The House.. 

Hope you've enjoyed reading this, as I did playing and writing it up.  If you haven't already, why not give it a go?   Thanks to Bob, Mark and all the other contributors to the '3x3Fast Play' idea.    Keep well, and safe, everyone.